Installing Scheduler411 - All Connect411 Versions
If your were one of the original testers and installed the service based
scheduler, click here for required service
removal instructions.
Important! You must be authorized for the Scheduler411 before performing this
install process. Use the
Contact Us link to authorize your account for this option.
Click the following link to open the Scheduler411 Setup page:
http://www.opsoftware.com/scheduler411/publish.htm
You can also open a browser and navigate to the installation page:

The Scheduler411 will be shown:

Click the Install Button to begin the Scheduler411 setup process.
You will receive one or more warnings and these warning messages may vary
depending on the version of your operating system.
Choose the OK, or Run option when these security warnings are displayed:

Internet Exploer sample warning:

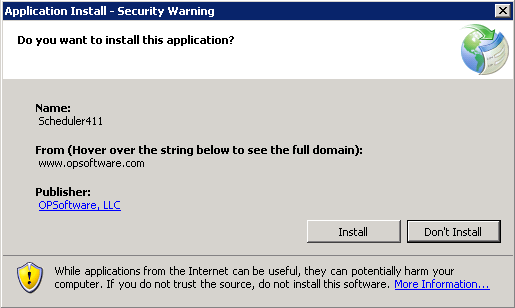
Application Install warning may also appear. Choose the Install Button to
continue the installation.

Follow any on-screen instructions to complete the installation of Scheduler411.
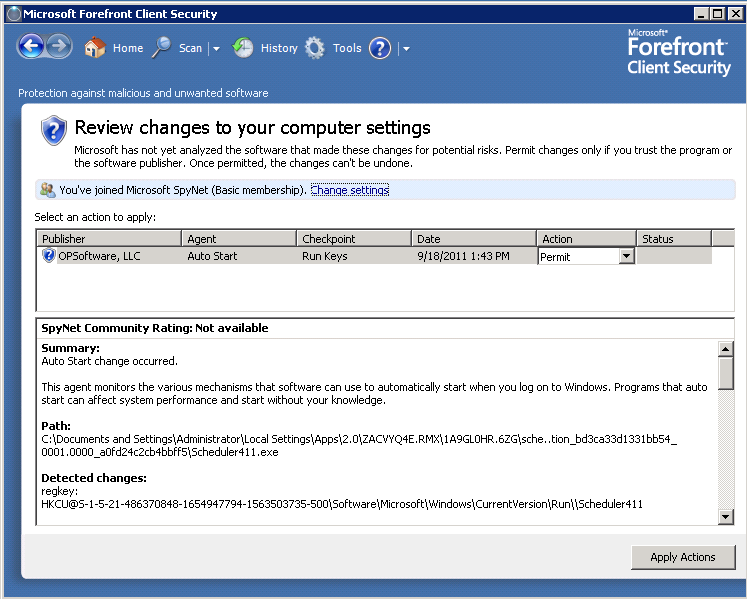
When the installation completes, you may receive an additional security warning
regarding the auto-start option set by this program. This security warning may
or may not be shown depending on your security software.
Here is a sample of the type of warning you may receive:

This registry entry is required to automatically start Scheduler411 when your
computer is started.
Accept or approve any such security warnings.
Scheduler411 should now be running in your system tray ready to process scheduled
jobs. You can click the Scheduler411 icon (Stopwatch) on in the system tray to
stop Scheduler411:

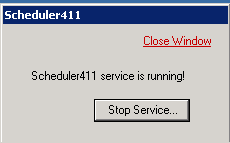
Clicking the Scheduler411 icon shows the status:

Click the Close Window link to close this status window, or the Stop Service
Button to Quit Scheduler411.
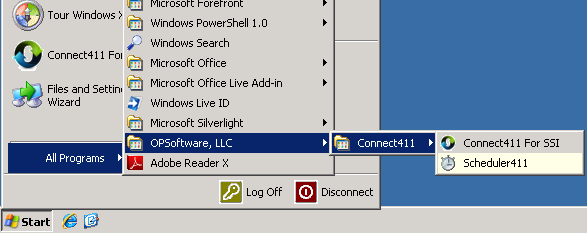
If you mistakenly quit Scheduler411 and want to start it running again, choose
Start - All Programs - OPSoftware, LLC - Connect411 - Scheduler411 to re-start
the program.
