Uploading Contracts to Britannia
Be sure that the contract file name you want to upload from the C:\Brit\contract
folder is 5 characters, like DEPOT.dbf, STAPL.dbf, etc. The file name MUST be 5
characters and only 5 characters for the upload to work!
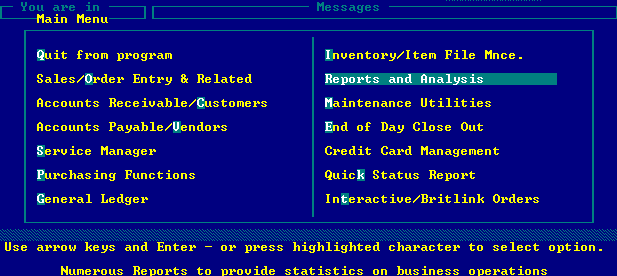
Login to Britannia and choose the Reports selection (R):
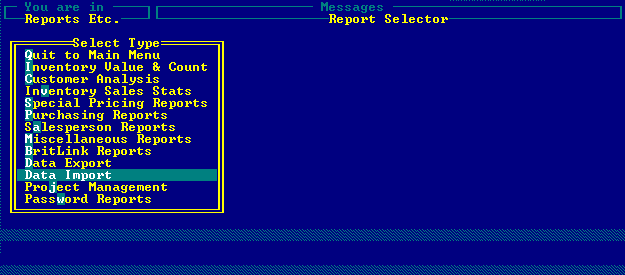
Choose the Data Import menu (T):
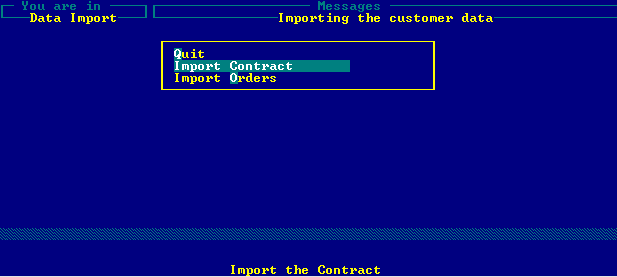
Choose the Import Contract option (I):
Wait for the uploading Directory to complete. This scans the files contained in
your C:\Brit\Contract folder in preparation for uploading to Britannia.
Using the up-down arrow keys, choose the contract from the list of files
contained in your C:\Brit\Contract folder:
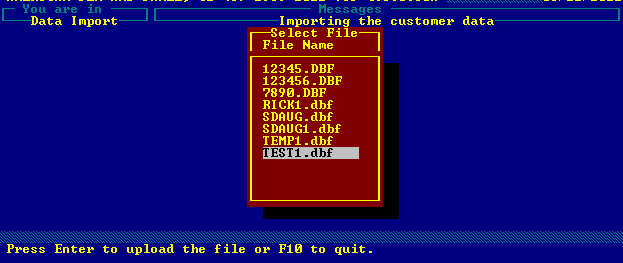
When the correct file is selected, press Enter to upload the file.
Select the Inventory for this contact from the available Inventory list:
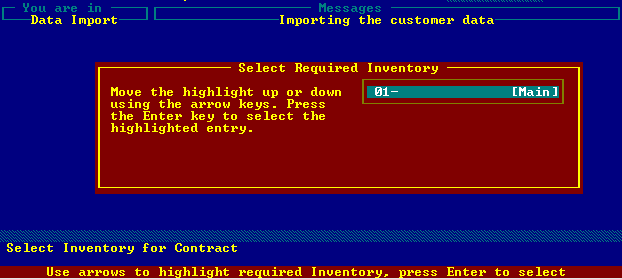
Press Enter to select the inventory and continue to the next step.
Confirm the Import by entering Y or selecting Yes (default):
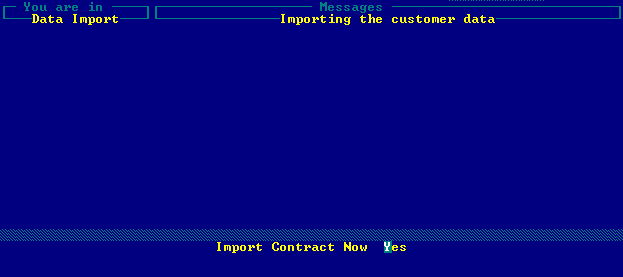
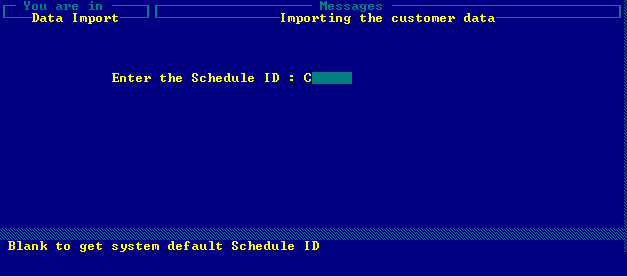
Enter a Schedule ID (Contract ID) or leave blank to have the system assign an ID:
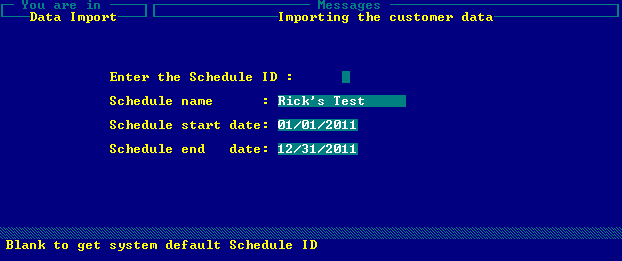
Enter the Schedule name (Contract name) and start and end dates:
Select the Schedule Type depending on your needs:
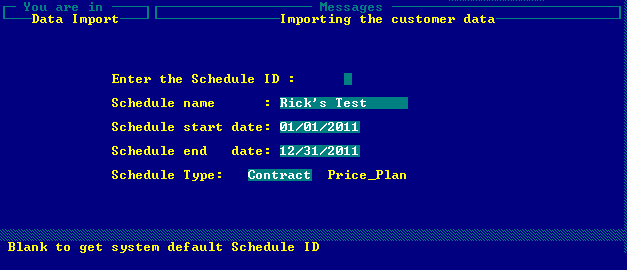
Press Enter to proceed after all fields are completed.
At the Create Contract prompt, press Enter to create the contract:
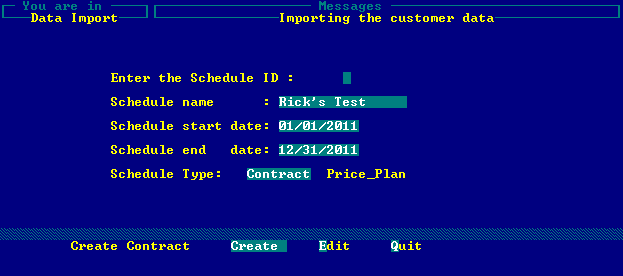
The contract will import and the confirmation will be shown:
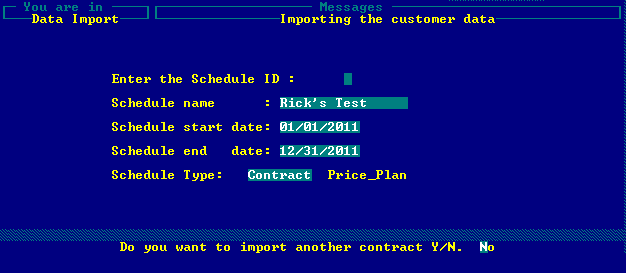
Choose No to return to the Data Import menu.
After the import is complete, you may need to perform additional Britannia steps
including assigning the contract to customers and perform the full update to
make the contract available to the web app. Follow the Britannia instructions
for performing these standard Britannia tasks.